Step by Step : Encrypting User Data with EFS in Windows Server 2012 R2
EFS, we might heard it before, or we might never heard it at all, or perhaps we don’t even bother about it existence…
Anyway, what’s EFS???
EFS is a feature that can encrypt your data that are stored on an NTFS-formatted partition.
This feature is available to all users by default. You can also use EFS to encrypt data on a file share.
After a file is encrypted with EFS, only authorized users can access it.
If a user is authorized, then access to the file is transparent, and the user can open it as if it were an unencrypted file.
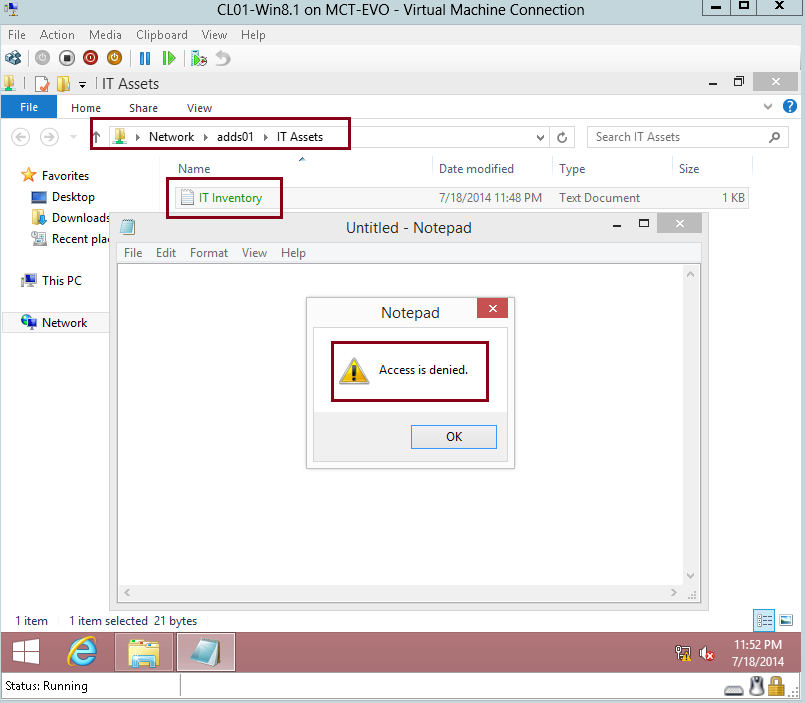
An unauthorized user will receive a message that access is denied after an attempts to open the file.
Please spend some times to read more info about EFS :
In my post this time, lets go through the step how you can Encrypt your Data in Windows Server 2012 R2…
1 – Before we start, we need to create a new EFS Data Recovery Agent using Group Policy…
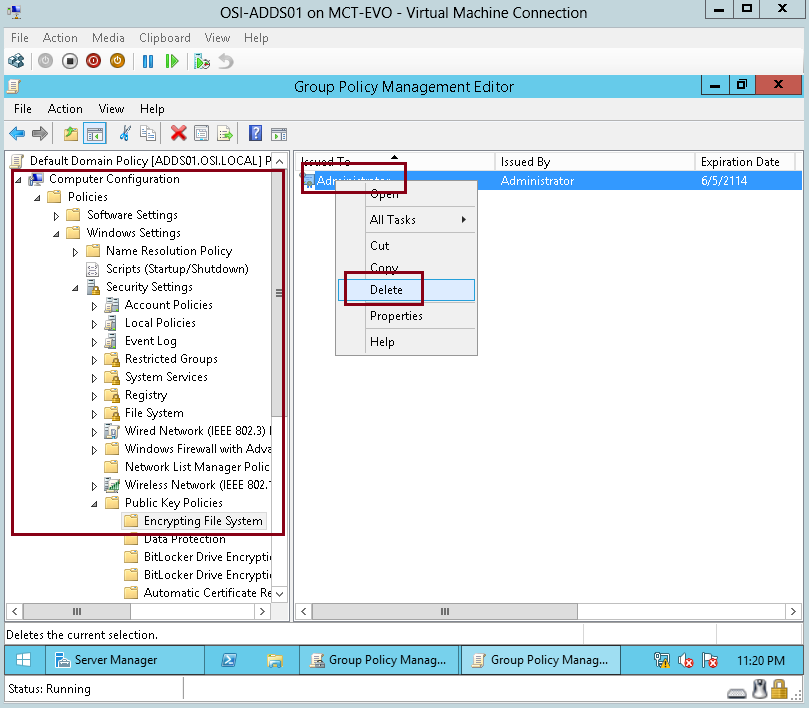
On the OSI-ADDS01 domain Server, open Group Policy Management, right click Default Domain Policy and then click Edit…

2 – In the Group Policy Management Editor interface, click Computer Configuration, expand Policies, expand Windows Settings, expand Security Settings, expand Public Key Policies, and then click Encrypting File System.
Next, right-click the Administrator certificate, and then click Delete…
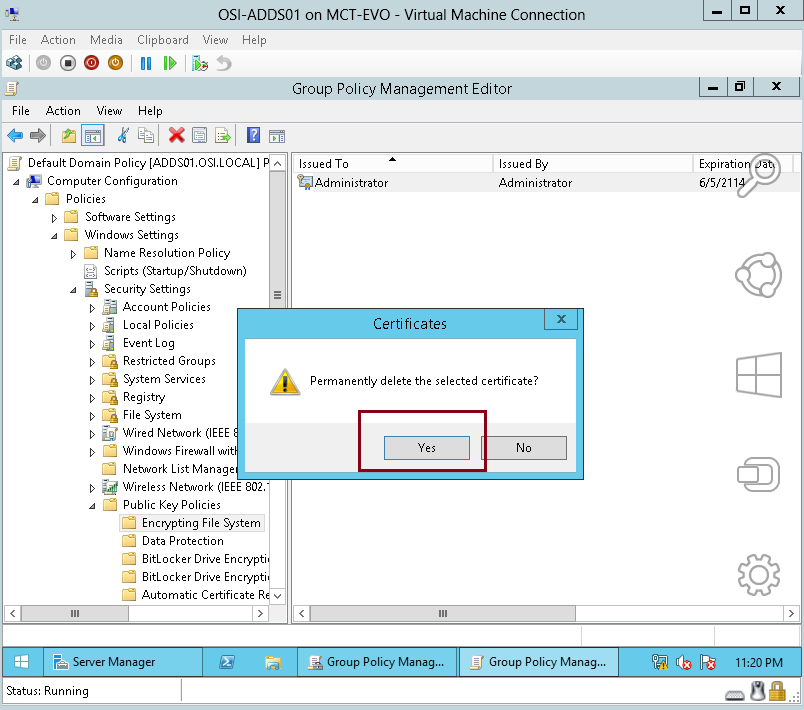
3 – In the Certificates interface, click Yes…
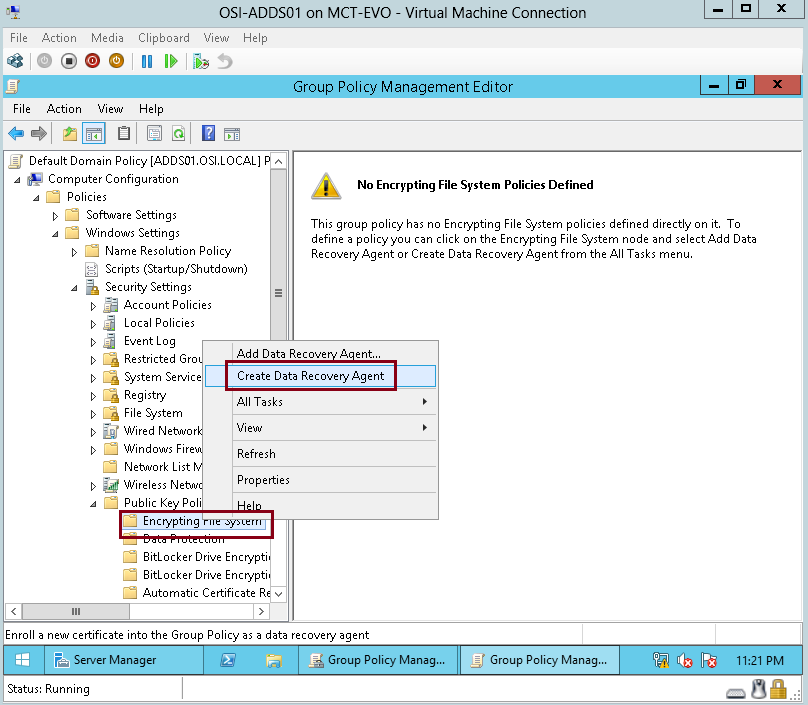
4 – In the Group Policy Management Editor, right-click Encrypting File System, and then click Create Data Recovery Agent…
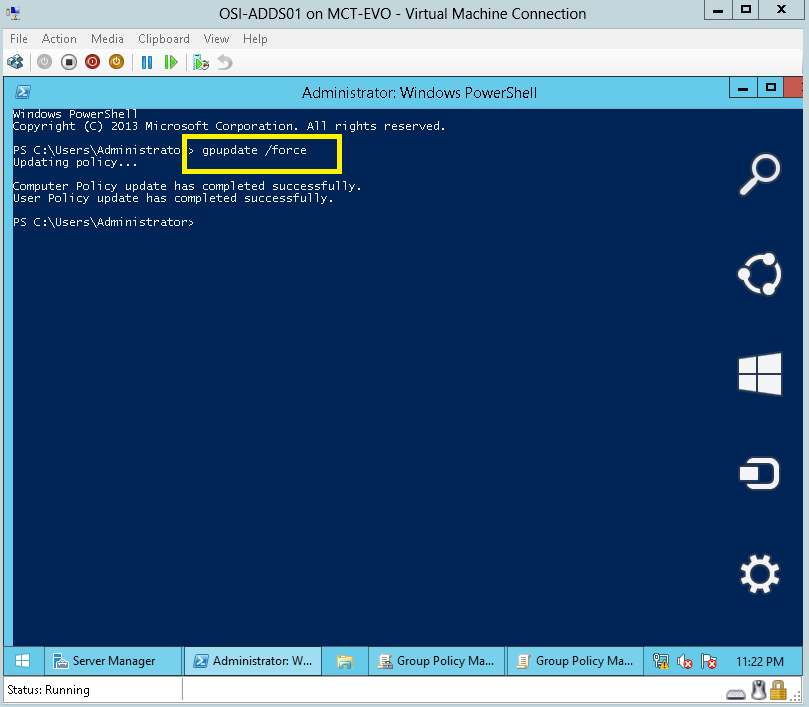
5 – Next, open Windows PowerShell , then type gpupdate /force and press Enter…
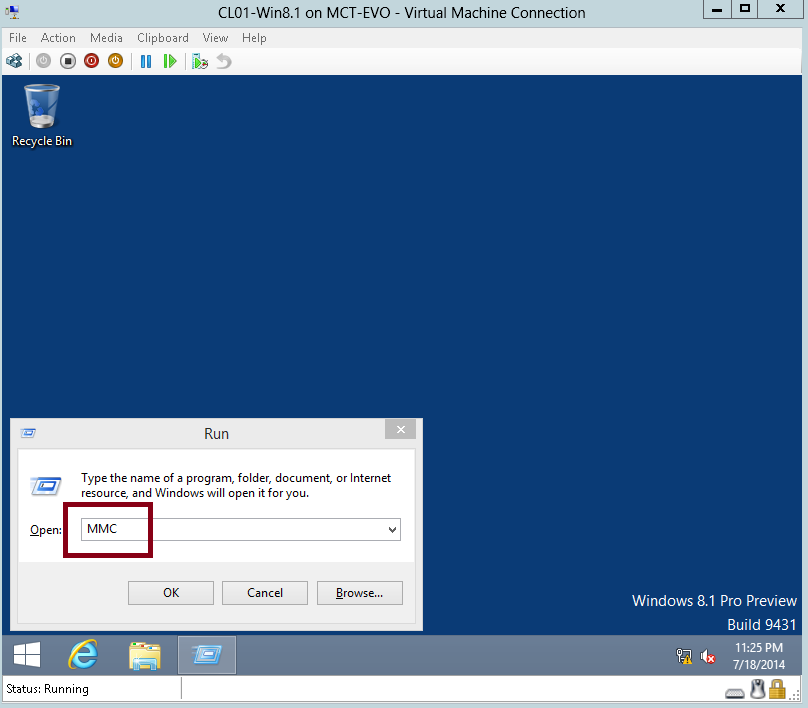
6 – Next, log in to your Windows 8 client PC as a Administrator, open Run windows and then type MMC and press Enter…
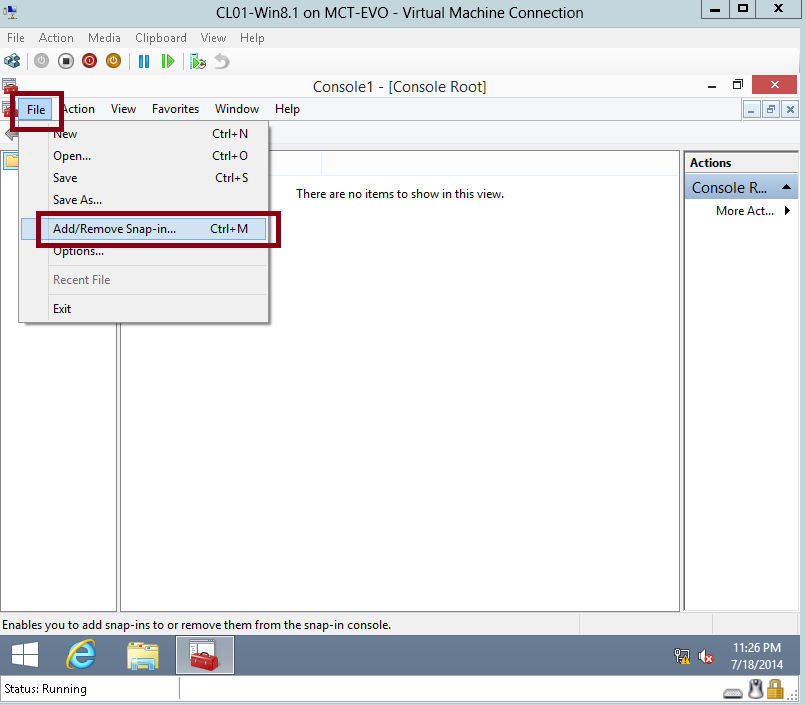
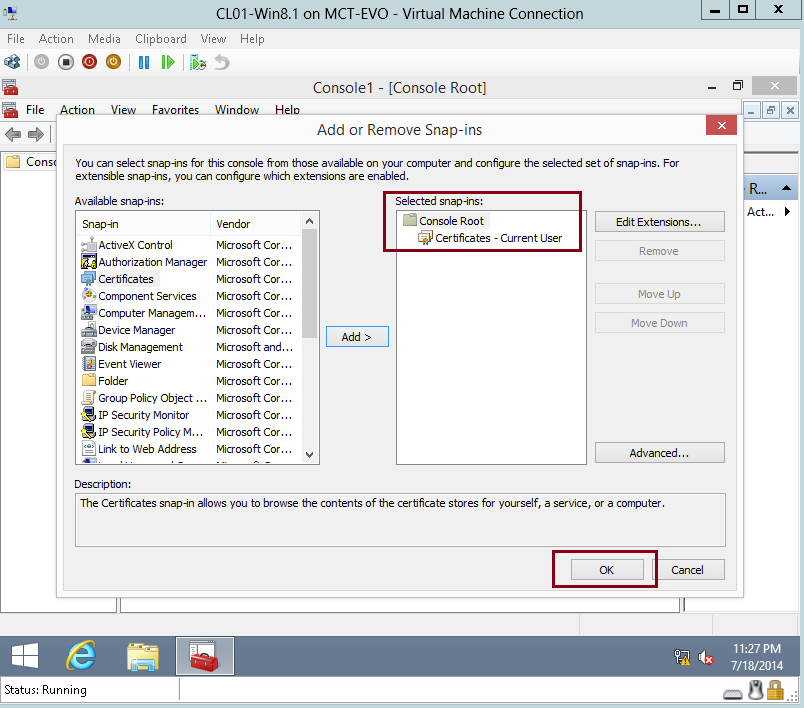
7 – In the Console1 interface, click File, and then click Add/Remove Snap-in…
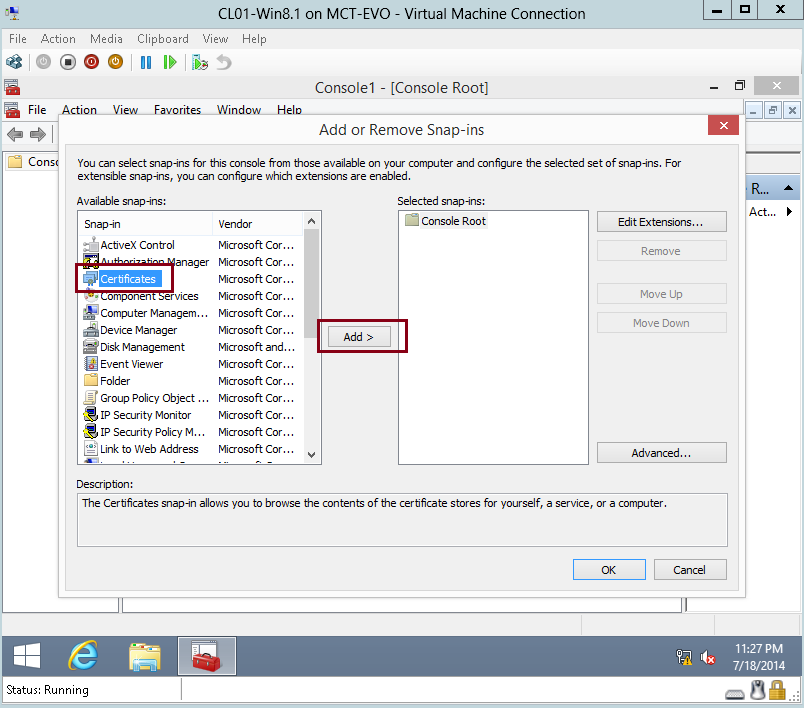
8 – In the Add or Remove Snap-ins interface, click Certificates, and then click Add…
9 – In the Add Or Remove Snap-ins interface, click OK…
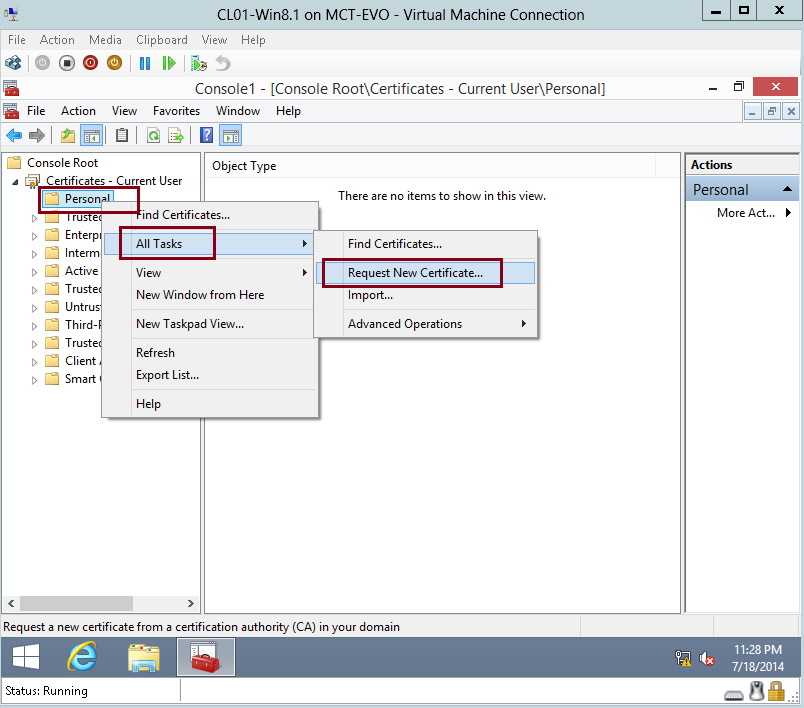
10 – In the left pane, expend Certificates – Current User, right-click Personal, click All Tasks, and then click Request New Certificate…
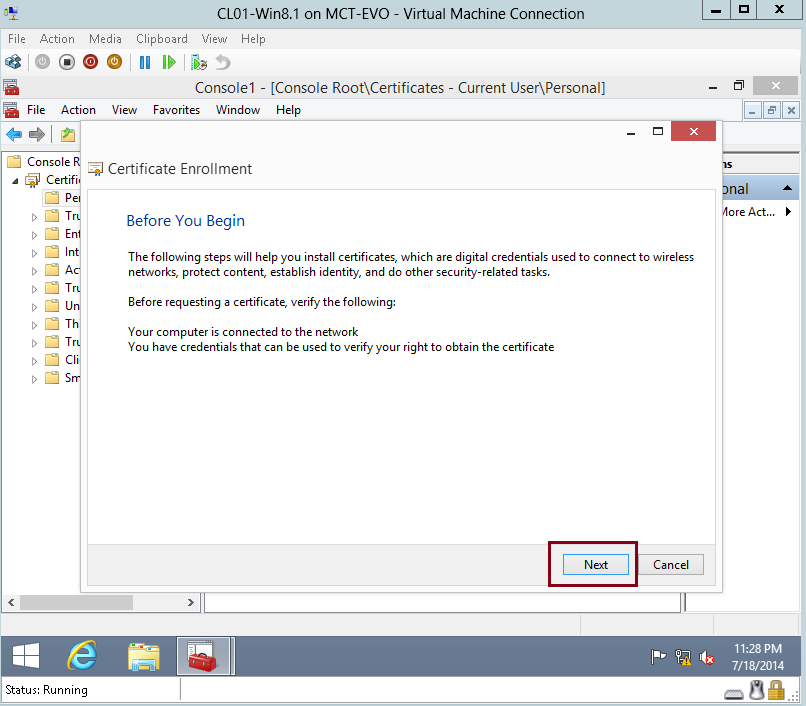
11 – In the Certificate Enrollment interface, click Next…
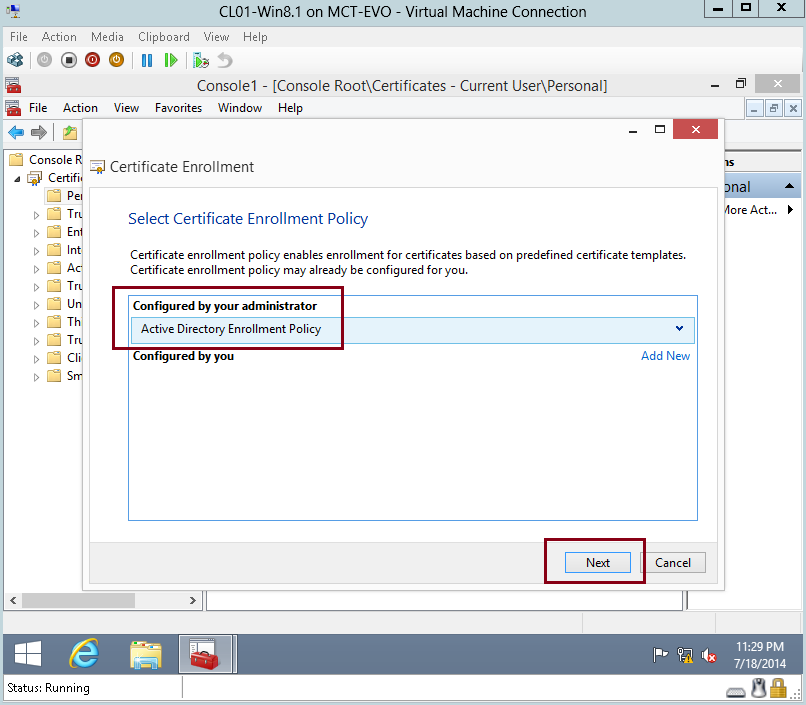
12 – On the Select Certificate Enrollment Policy interface, verify that you have Active Directory Enrollment Policy, and then click Next…
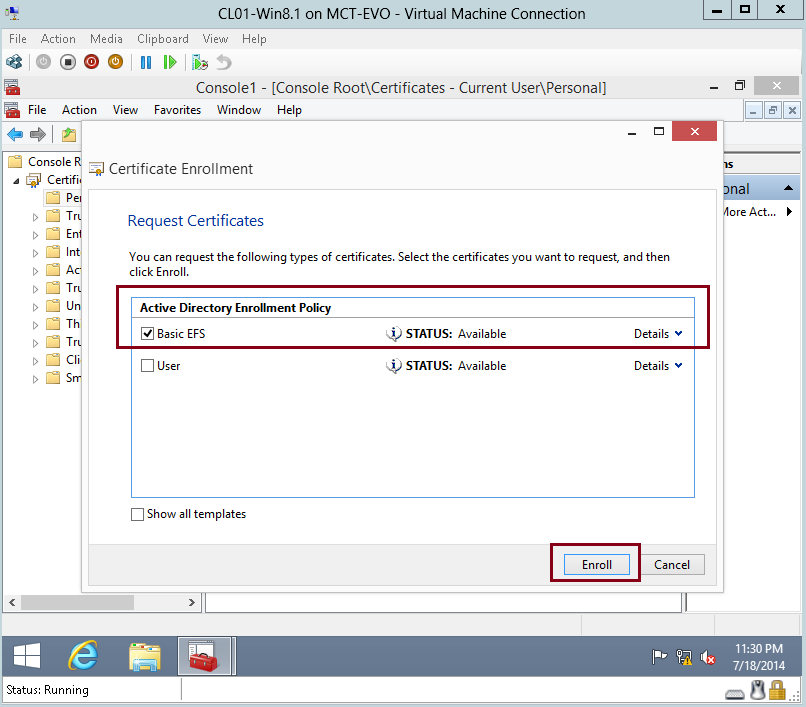
13 – On the Request Certificates interface, click the Basic EFS check box, and then click Enroll…
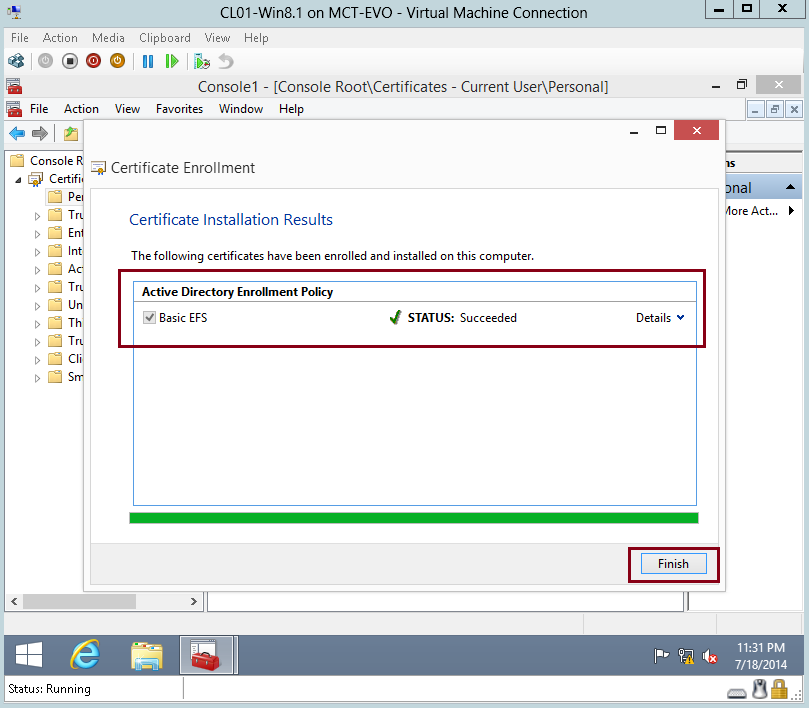
14 – On the Certificate Installation Results interface, verify that the Status : Succeeded and then click Finish…
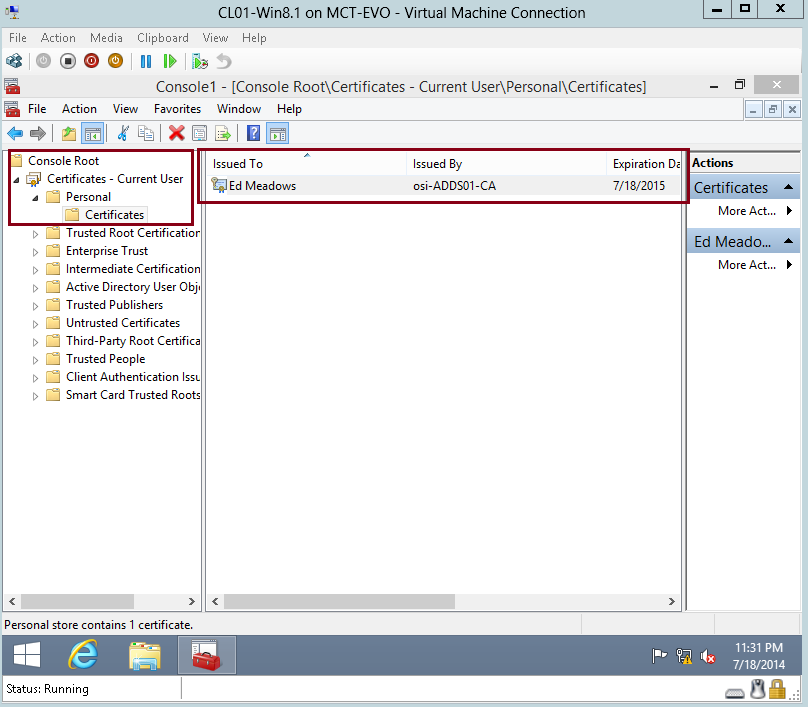
15 – In the Console1 interface, expand Certificates – Current User, expand Personal, and then click Certificates, on the right pane verify that under issued to, your present Log in User Name is listed and verify also that it was issued by osi-ADDS01-CA…
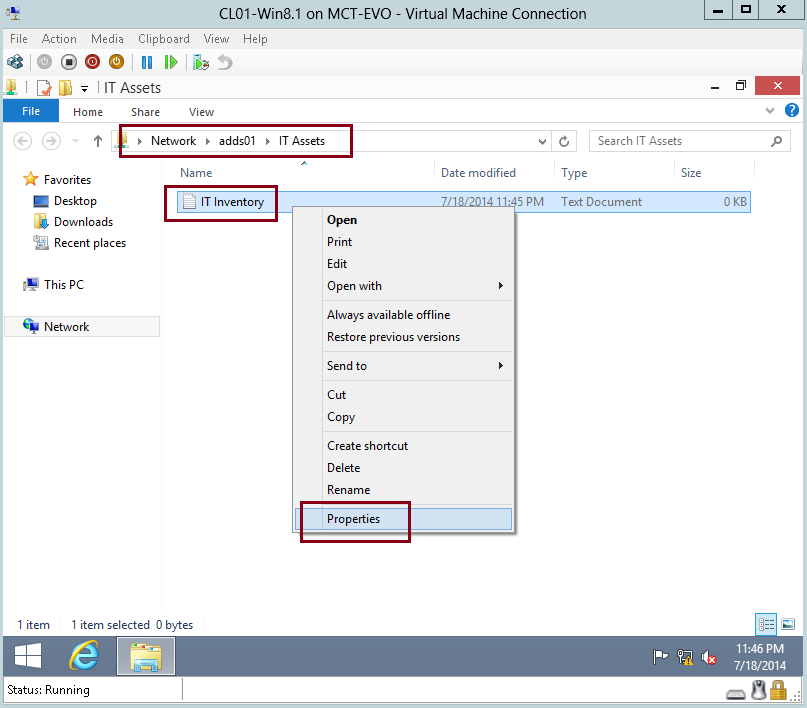
16 – Now lets try encrypt a data.
From Windows 8 client PC, access to the Network folder that you have (in my demo i access to IT Assets folder through network).
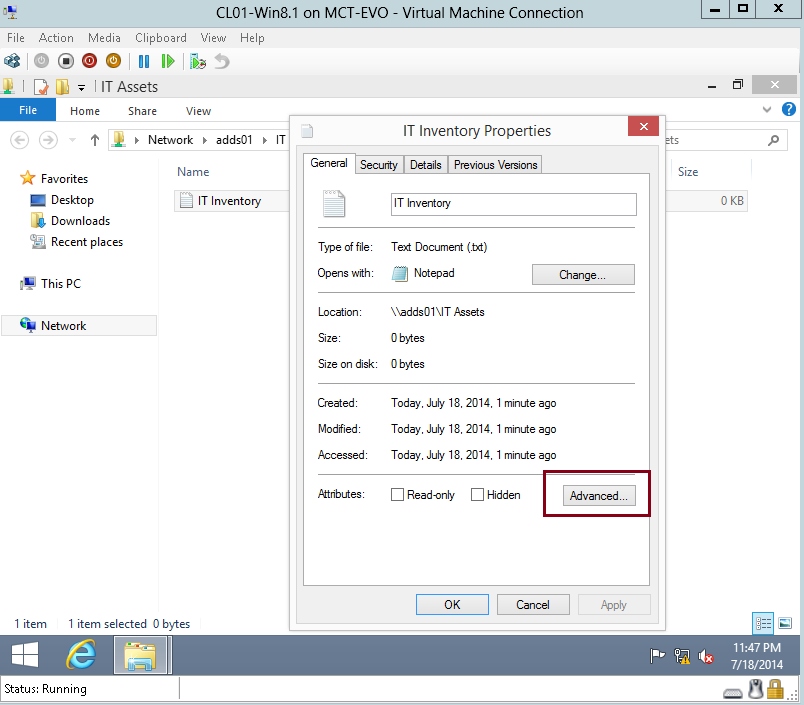
Then right click your file, and click Properties…
17 – On the General tab, click Advanced…
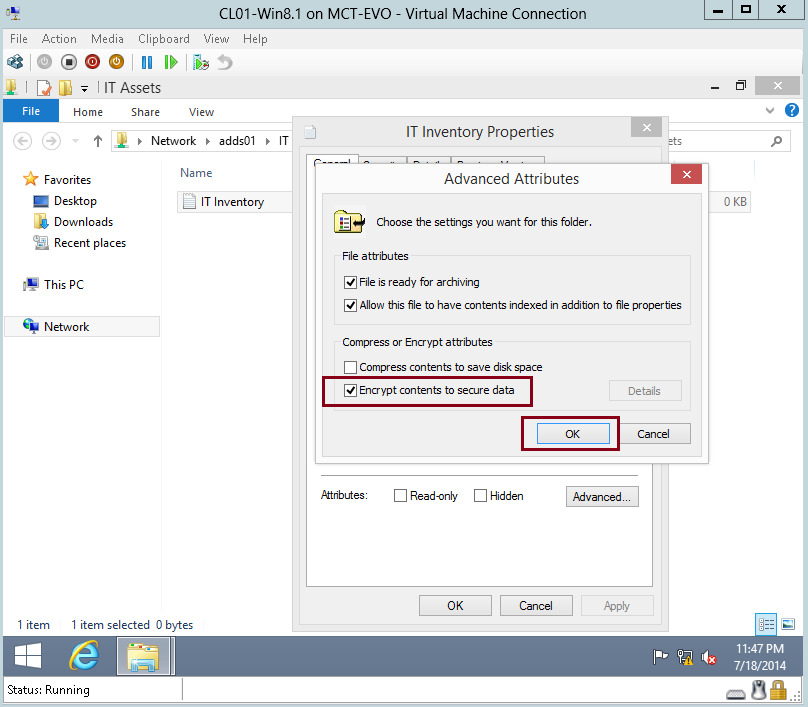
18 – In the Advanced Attributes interface, click Encrypt contents to secure data check box, and then click OK…
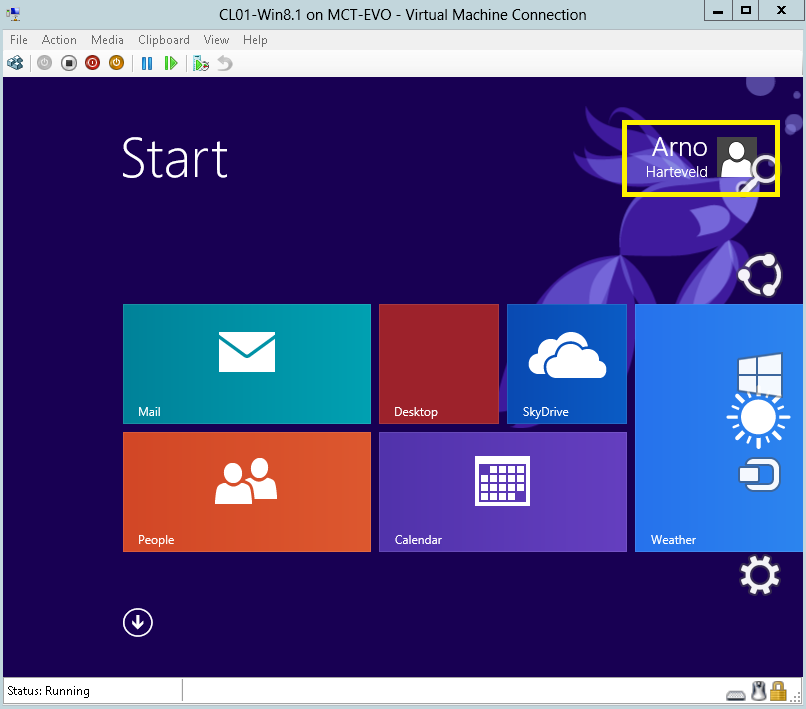
19 – to simulate the EFS function, log in with different user name…
20 – Verify that other user can’t access to the file with “Acces is denied” error…